Permanent Outdoor Lighting Installation Guide for Austin Homes
The question I hear most before an installation is simple: "what's actually going to happen to my house?" And that makes perfect sense. You're about to invest in something that gets permanently attached to your roofline. You want to understand the process, the timeline, and what your fascia looks like when we're done.
We've installed permanent lighting systems across the Austin area, from limestone ranch homes in Dripping Springs to large modern builds in West Lake Hills and two-story traditionals in Circle C Ranch. Here is the process, start to finish.
Step One: The On-Site Quote (30 to 45 Minutes)
Everything starts with a visit to your home. We don't do over-the-phone estimates or online guesswork. Every roofline is different, and the only way to give you an accurate number is to walk the property in person.
During the visit, we measure the fascia that will receive track. Then we walk the full perimeter and mark the details that affect the install: peaks, valleys, corners, dormers, gables, and material changes. We look closely at the fascia material and color so we can match the track precisely. And we talk about what you want the system to do.
That conversation usually covers:
- Coverage area: Front roofline only, full perimeter, or specific zones. A Barton Creek or Lakeway home might need the garage, patio, and pool house included. A smaller first phase might be front roofline only.
- Zone layout: How you want to group your lights. Front separate from back? Patio on its own zone? Each zone can run different colors, brightness levels, and schedules independently.
- Motion sensors: Where you'd like motion-triggered lighting. Driveways, side yards, and back entries are the most common requests in Austin.
- Controller location: Usually the garage, a utility closet, or a discreet spot on an exterior wall.
This visit typically takes 30 to 45 minutes. You'll leave with a detailed quote showing exact linear footage and total cost. No hidden fees, no surprise add-ons on installation day.
Step Two: Design and Material Prep (1 to 2 Weeks)
Once you approve the quote, we order your materials. The aluminum track is custom-cut and color-matched to your specific fascia. This isn't a one-size-fits-all product pulled off a shelf. If your home has cream-colored hardie board on the main roofline and a darker stone accent on the garage wing, we match each section individually.
For Austin homes, the color match step is especially important because of the variety of fascia materials we see across the market:
- Hardie board: Common across Cedar Park, Georgetown, and Kyle. It has a clean, consistent surface, so the track color is easier to match.
- Stucco: Common on Mediterranean and Hill Country-style builds throughout West Lake Hills and Barton Creek. We use masonry-rated fasteners and match the textured surface color.
- Wood and composite: Found on custom builds and older homes in Dripping Springs and Lakeway. We account for grain variation and weathering when selecting the track color.
- Stone veneer: Many Austin homes have stone that extends up to the eave line. On these sections, we mount directly to the soffit return or any narrow fascia strip above the stone.
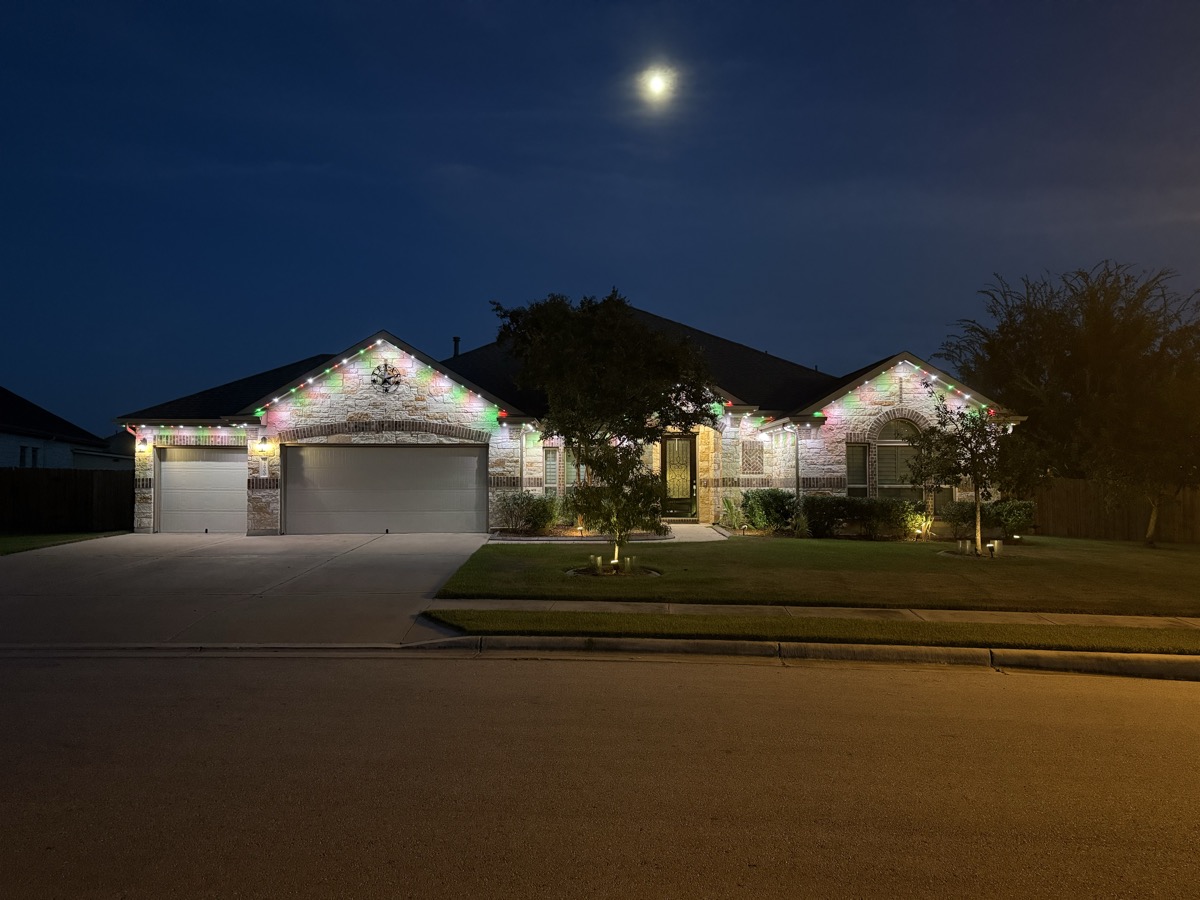
The goal is for the track to disappear during the day. If you can see the track from 30 feet away in daylight, it wasn't matched right. We take this step seriously because it's the difference between a system that looks custom and one that looks stuck on.
Material prep usually takes one to two weeks depending on the specifics of your home. We'll confirm your install date during this window.
Step Three: Installation Day
Installation day usually moves faster than people expect. For a typical Austin home with 120 to 200 linear feet of roofline, installation takes about one day. Larger homes or more complex rooflines (multiple gables, detached structures, wraparound porches) might stretch into a second day.
Here's what the crew does from start to finish:
Morning setup. The crew arrives with all materials pre-cut and pre-staged. Ladders, safety equipment, and tools are positioned around the home. We protect landscaping, walkways, and driveways during setup. In the Austin summer months, crews arrive early to get the roof-level work done before the worst of the afternoon heat hits. Precision drops fast at 105 degrees on a south-facing roofline.
Track installation. The aluminum track is mounted directly to the fascia board using hidden fasteners. Each section is aligned, leveled, and secured. On corners, peaks, and transitions, the track is custom-bent to follow your roofline precisely. This is the most time-consuming part of the install because precision matters here more than anywhere else. A crooked track looks crooked forever.
Austin roof types affect how the crew approaches this step. Composition shingle roofs (the most common across Cedar Park, Kyle, and Buda) allow straightforward access along the eave. Metal roofing, which is increasingly popular in Hill Country builds around Dripping Springs and Lakeway, requires specific techniques to work around standing seams without damaging the roof surface. Concrete tile roofs, found on some Spanish Colonial and Mediterranean builds, need careful ladder placement and extra crew attention at the eave edge. And the flat-roof modern designs popping up in central Austin have their own approach, with track typically mounted along the parapet or fascia band.
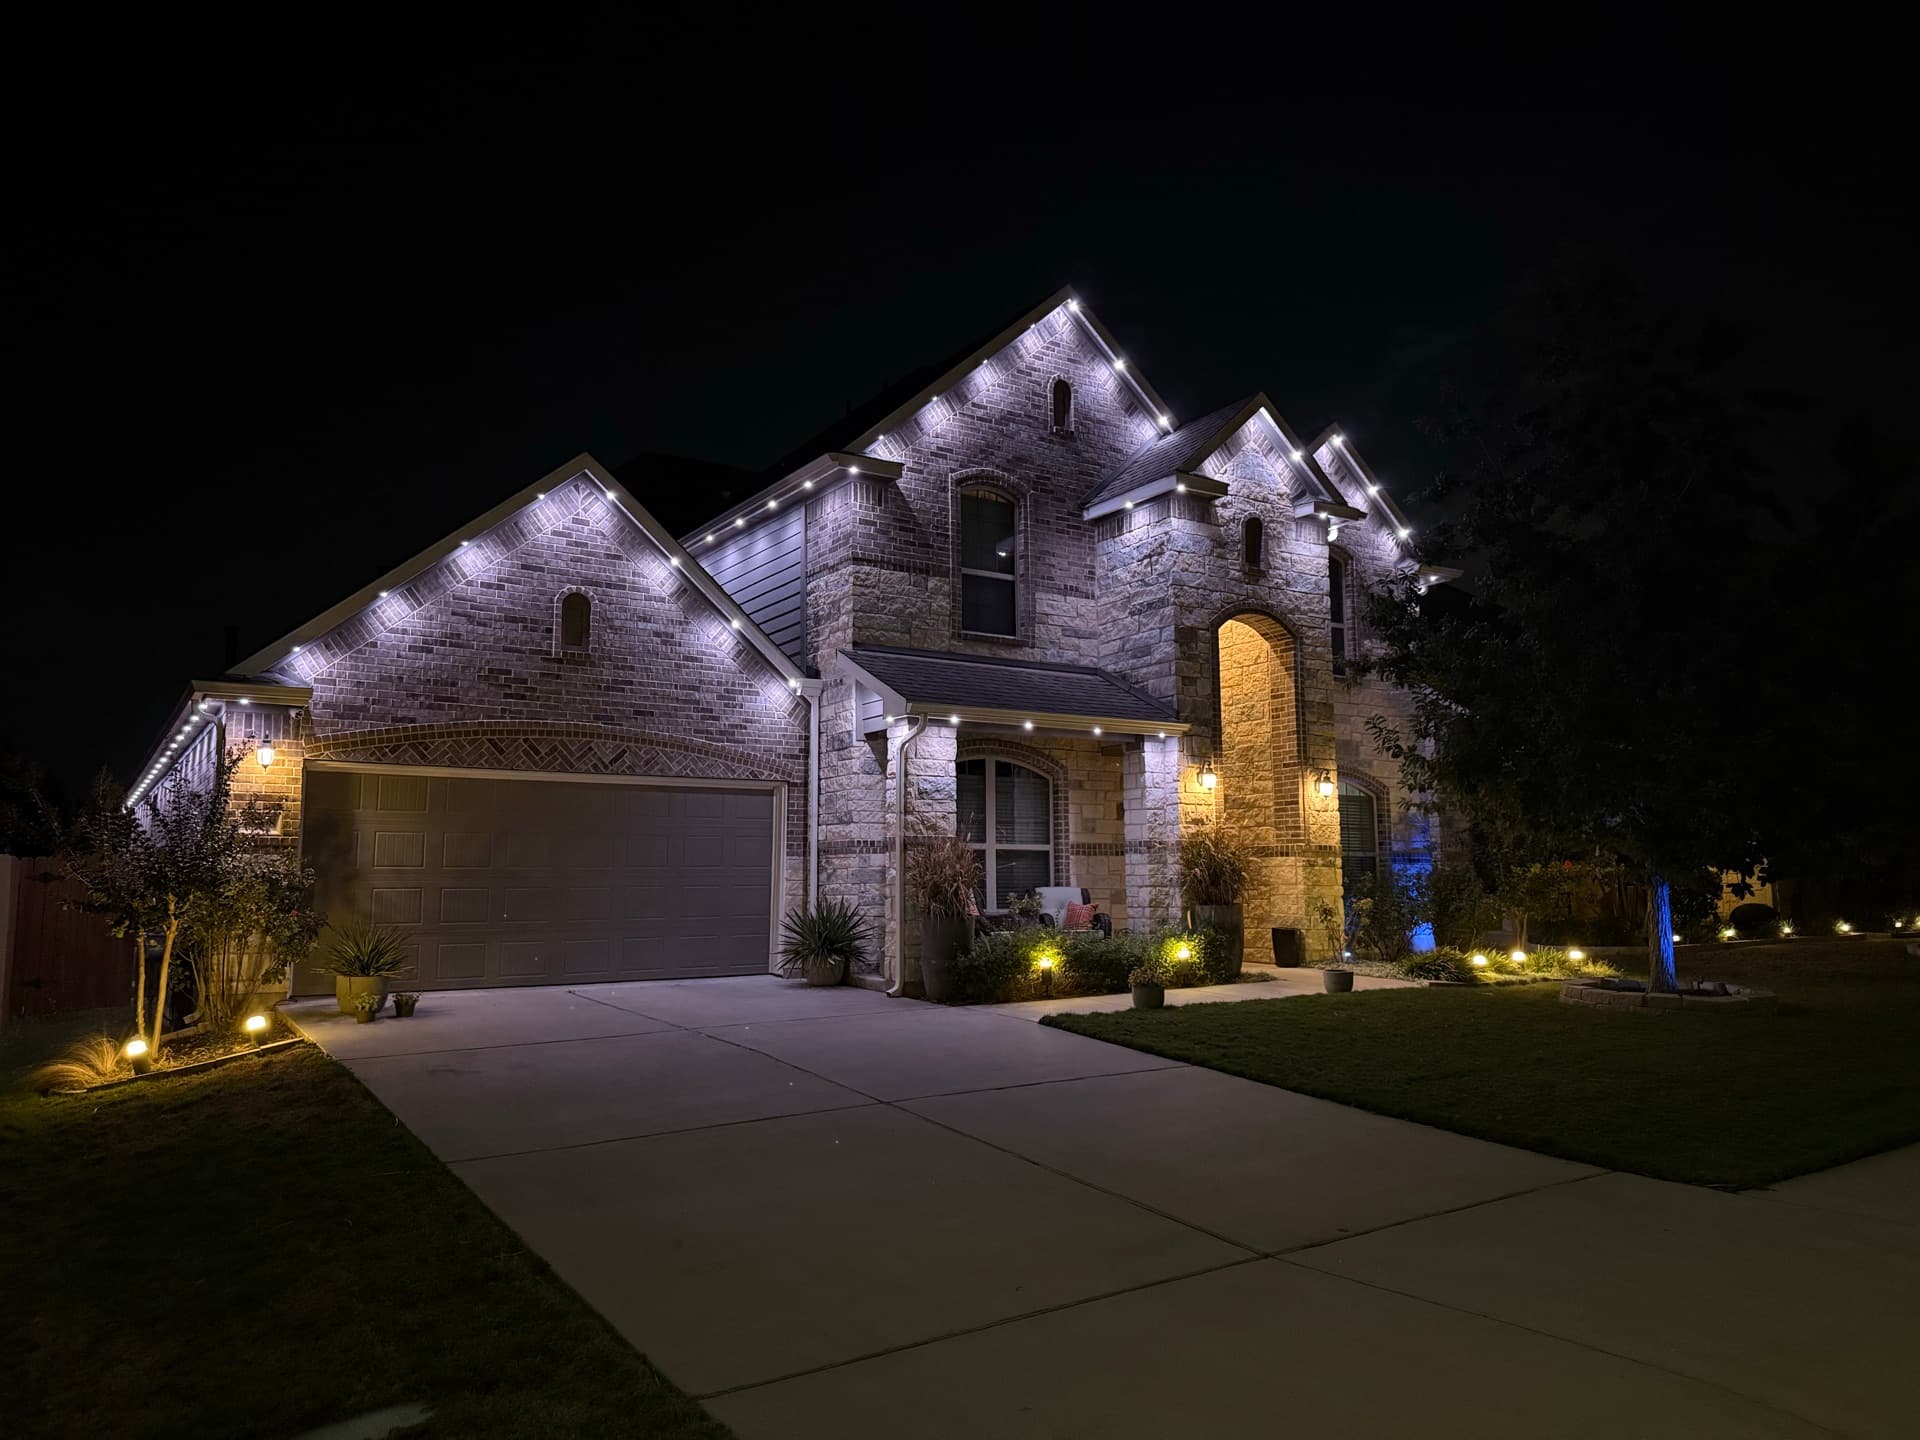
LED insertion and wiring. Once the track is mounted, the RGBW LED nodes are inserted at consistent spacing. Each node contains 6 LEDs: 3 RGB for full color spectrum, plus 3 dedicated warm white LEDs. This gives TruLight noticeably more output than standard 3-LED systems, especially on warm white, and it's what makes true warm white possible on Austin's limestone and stucco exteriors instead of the blue-tinted "white" that cheaper systems produce.
All wiring runs connect back to the controller location. Wires are hidden behind fascia, along roof edges, or through existing penetration points. Nothing is visible from the street.
Controller and power. The controller box is typically mounted in the garage, a utility closet, or on an exterior wall out of sight. It runs on a 48-volt architecture, which helps reduce voltage drop across longer roofline runs. It connects to a standard electrical outlet. No new circuits or panel work needed for most installations.
Testing and walkthrough. Before the crew leaves, every zone is tested for function, color accuracy, and brightness consistency. We walk you through the app, set up your initial scenes, and make sure everything works exactly as planned. You'll have a warm white roofline by the time the crew packs up.
What Makes a Good Installation vs. a Mediocre One
Brand matters, but the install matters more. If you're comparing installers in the Austin market, here's what separates professional work from mediocre work:
- Track alignment: Should be perfectly straight and level across long runs. Any wavering is visible from the street, and it never gets better over time. On Austin's large single-story ranch homes with 40- to 60-foot uninterrupted fascia runs, alignment precision is absolutely critical.
- Color matching: The track should be nearly invisible against your fascia during daylight. If you can spot the track from the curb during the day, it wasn't matched correctly. This matters especially on lighter stone and stucco homes where any contrast between the track and the wall surface is obvious.
- Wire management: All wiring should be hidden. No cables running down the side of the house. No visible connections at corners. No loose wire hanging below the eave line. On two-story homes, the upper story is where lower-quality installers cut corners. It gets noticed.
- Corner work: Corners, peaks, and transitions should be clean with no gaps, overlaps, or exposed joints. This is where the difference between a trained crew and a subcontracted one becomes obvious. Austin homes with complex rooflines, especially the Hill Country stone builds with multiple gables and covered entries, have a lot of corners. Every one has to be right.
- Cleanup: The crew should leave your property cleaner than they found it. No scraps, no packaging, no debris in your landscaping.
Wondering what it would cost for your home? Get an instant estimate using our satellite tool. No visit required.
Get Your Free QuoteAt TruLight Austin, our own trained crew handles the installation. No subcontractors. We've done this enough to know that the fastest path to a callback is a sloppy installation. We'd rather spend an extra hour on alignment than come back to fix something that should have been right the first time.
What Happens to Your Roof and Fascia
This is a fair concern. You're attaching hardware to your house. What does that actually do to the fascia?
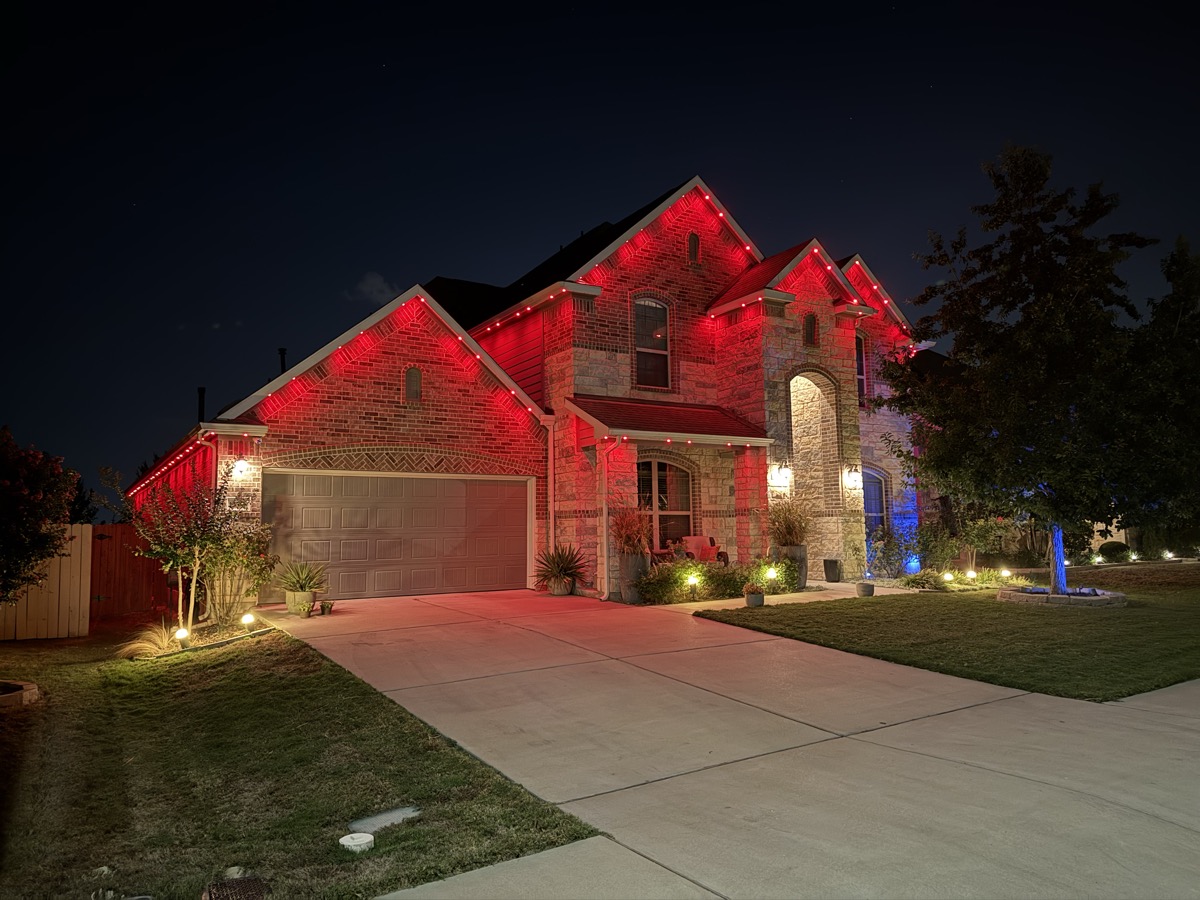
The track mounts with small fasteners that penetrate the fascia board but don't go into the roof structure. The holes are comparable to what a gutter clip or downspout bracket creates. If the system were ever removed (which is very uncommon given the lifetime transferable warranty), the holes would be no different than any other minor fascia repair.
For homes with hardie board, wood, or composite fascia, the mounting is straightforward and well-established. For stucco, we use fasteners designed for masonry applications. For stone veneer that extends to the roofline, we mount to the soffit return or any available fascia surface above the stone.
One thing worth knowing: the track covers the fascia directly behind it, so that strip is less exposed to sun than the surrounding paint. In Central Texas, where the sun is intense for much of the year, UV degradation of fascia paint and material is a real issue. The covered strip simply sees less direct sun than the wall around it. It's a minor point, but a real one in a climate where the sun doesn't take many days off.
Timeline: From First Call to Lights On
The typical timeline from your initial quote to a finished installation is two to four weeks. That includes the on-site visit, material ordering and custom prep, and the install itself.
Austin scheduling changes by season:
- Spring (March through May): Great availability. Weather is ideal. You get to enjoy the system through summer instead of waiting until fall to see it running. This is when we recommend most homeowners book.
- Summer (June through August): Crews start early morning to beat the heat. Installations are still fully booked through summer, but we adjust the schedule so the crew is doing roof-level work in the cooler morning hours. Austin's summer thunderstorms and occasional hail can push a date by a day, but we build buffer into the schedule.
- Fall (September through November): Peak season. Everyone wants lights before the holidays. Wait times can stretch to four to six weeks. If you want a pre-Thanksgiving installation, book by mid-September at the latest.
- Winter (December through February): Quieter. Good availability. Austin winters rarely interfere with installation, though the occasional ice event or extended cold snap can cause a brief delay.
If your timing is flexible, spring or early summer is the easier window. You'll get better availability, shorter wait times, and you'll have the system running for Fourth of July, football season, and every warm evening on the patio between now and the holidays.
Austin-Specific Details Worth Knowing
Austin installs have a few quirks:
Summer heat protocol. From June through September, our crews adjust their schedule to start at first light. The most physically demanding work, including ladder positioning, track mounting on upper stories, and any work on south- and west-facing rooflines, happens before noon. Afternoon hours are reserved for controller installation, wiring, testing, and the walkthrough. This isn't just about crew comfort. Precision work at 100+ degrees leads to mistakes, and we don't accept that.
UV and material resilience. Austin gets hard sun for much of the year, and that matters for exterior materials. Our track and LED components are rated for this environment. The 48-volt system runs cooler than higher-voltage alternatives, which extends component life in hot climates. The RGBW LEDs are rated for long service life; if you want the exact hour rating, we can walk through the product spec during the quote.
Thunderstorm and hail season. Central Texas gets its share of severe weather, particularly from March through June. The track and components are built for outdoor exposure, including heavy rain and normal Central Texas weather. Storm performance depends on the home, exposure, and installation details, so we inspect and test the system before we call the job done. The aluminum track profile is low enough that it doesn't catch wind the way clip-on holiday lights do.
HOA considerations. Many of the communities we serve, including Circle C Ranch, Lakeway, Steiner Ranch, and several Georgetown neighborhoods, have HOAs with exterior modification guidelines. TruLight Austin handles the HOA review process as part of the installation. We're familiar with the specific requirements across Austin's major master-planned communities and can help you work through the approval before any work begins.
Frequently Asked Questions
Do I need to be home during the installation?
You don't need to be present for the entire install, but we recommend being available at the beginning to confirm any final details and at the end for the walkthrough and app setup. Many homeowners in the Austin area head out during the middle hours and come back for the final walkthrough.
Will the installation damage my landscaping?
We take precautions to protect landscaping, walkways, and driveways. Ladder feet are padded, and drop cloths are used when working over gardens, rock beds, or native plantings. Austin homeowners tend to invest heavily in their landscaping, and crews are trained to leave the property clean.
What if my fascia needs repair before installation?
We'll flag any fascia issues during the quote visit. Rotted wood, peeling paint, or damaged sections should be repaired before the track goes on. We can recommend contractors for fascia repair if needed, but we don't do that work ourselves. It keeps our focus on the lighting and ensures each trade handles what they do best.
Can the system be expanded later?
Yes. If you start with the front roofline and decide later to add the sides, back, patio, or a detached structure, the system is designed for expansion. Additional track, LEDs, and wiring are added to the existing controller. We design the initial installation with future expansion in mind so adding on later is simple.
What's included in the lifetime warranty?
TruLight's lifetime warranty covers the LEDs, track, controller, and all installed components. It's also transferable, which means if you sell your home, the warranty passes to the new owner. That's a real selling point in Austin's real estate market, especially in neighborhoods like West Lake Hills and Barton Creek where buyers expect turnkey quality.
Related Articles
Most installs are straightforward: one crew, usually one day, and a walkthrough before we leave. By evening you're controlling your roofline from your phone. If you've been wondering what the process would look like for your specific home, the easiest next step is a free on-site quote. We'll measure everything, answer every question, and give you a number you can sit with. No rush, no pressure.
TruLight Austin serves homeowners across Central Texas, including West Lake Hills, Lakeway, Circle C, Barton Creek, Dripping Springs, Georgetown, Cedar Park, Kyle, and Buda. Ready to see what permanent lighting looks like on your home? Request your free quote today.
Ready to Light Up Your Home?
Use our light preview tool to see your home in warm white, holiday colors, and more. Then get your free instant quote.
Get Your Free Quote Instantly